PHP Portlets
Alternative Languages: 日本語
Introduction #
This page outlines Liferay's PHP portlet feature.
One of the main differences between a normal PHP application and a Liferay PHP application is the way URL parameters are handled. For example, look at the following urls:
PHP: http://www.mysite.com/page.php?id=1
The first URL is probably what you are used to seeing: the URL parameter of id is being passed to the PHP page called page.php. The second URL is a Liferay specific URL used to access a specific app on a Liferay page.
Liferay URL Parameters #
p_p_id: this parameter is used to tell which portlet to access.
p_p_lifecycle: this parameter is used in telling Liferay which action to perform. This is a binary value (0 or 1). 0 simply tells Liferay to just render the portlet, whereas 1 tells Liferay to call the process Method of a StrutsAction.
p_p_state: this parameter is a unique parameter, in that, it is used in helping with Liferay pop ups and AJAX calls. In the current URL above, the parameter is set to normal, therefore, everything is rendered as it should. This parameter also has other values, such as exclusive, maximized and minimized.
- exclusive state tells the page to ONLY render that particular portlet
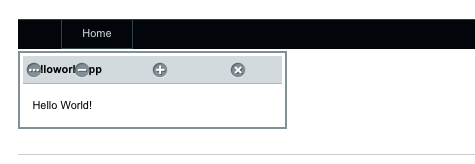
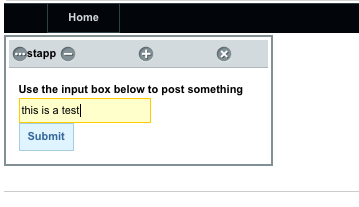
- maximized state is used in telling liferay to render the portlet (when placed on a page) in full, works kinda like if you were to have a collapsible div in javascript.The display below shows you what adding a new Web Content Display looks like. Surrounding this display item there is a border with a few buttons to click on to perform actions for this particular portlet. This is to demonstrate the Maximized and Minimized States for a portlet. Clicking on the Minus sign will collapse the div, whereas, clicking on the Plus sign will Maximize the div.
- minimized state (shown above) is used to display the portlet collapsed.
p_p_mode: this parameter acts as a Struts Action parameter. Just like a switch statement in PHP, this parameter is used to tell which Struts Method to render. This is mainly seen/used while in the control panel when you are editing a created page or editing your personal profile.
p_p_col_id and p_p_col_count: these parameters are used in aiding the Liferay templating system.
_helloworldphpapp_WAR_helloworldphpapp_phpURI: This parameter is used to send your PHP page(s) URL parameters and to tell which page to render inside the portlet. In the URL above we have it set to index.php?id=1. To render a different page inside (and I will explain about this a little later when going over developing a portlet with more than one PHP page) this portlet simply change the index.php to the name of the page you want to render (anotherpage.php?id=1).
Dissecting the final parameter
Take note that the parameter contains the name of the PHP app (helloworldapp). To access your app this parameter would simply change to the name of your app (mypersonalapp).
The Development Process #
Ok, now that the URL parameters have been explained, let’s dig into the actual development process.
Coding #
Since Liferay is scripting language agnostic, you can create a PHP app just like you would create any other PHP app. The syntax does not need to change to meet Liferay standards. Although there are some differences in how the code is handled, most of your practices will stay in tact.
There are some “tricks” and “hacks” I will explain later that will aid in finishing your app.
Hello World Portlet #
- Open up your favorite Text Editor to start a new project. I will be using TextMate for this demonstration.

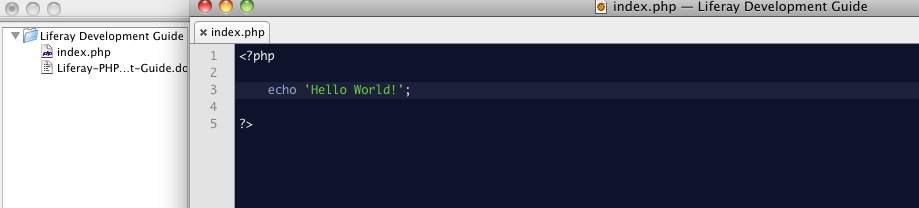
- Begin your app by creating a simple ‘Hello World’ echo statement.
- So now that we have our code written, we need to package the files for installation.
- Open up a terminal window
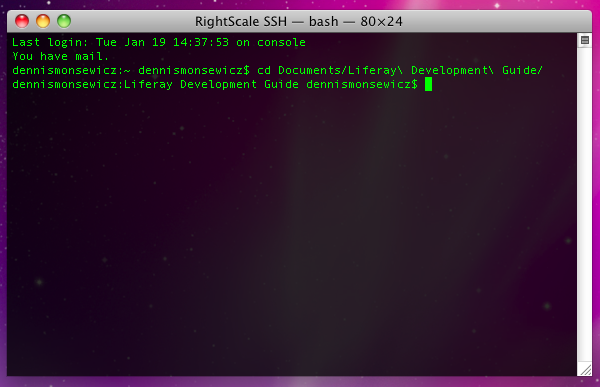
- Navigate to where you have saved your PHP app
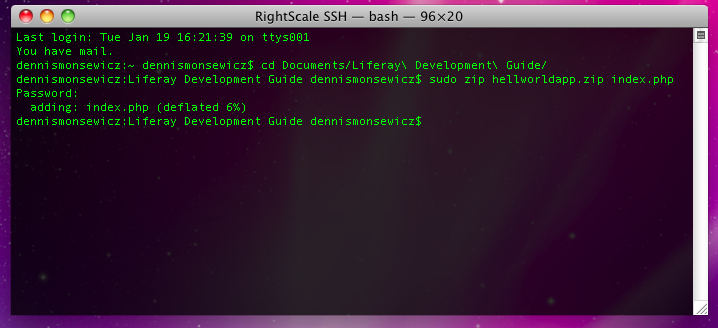
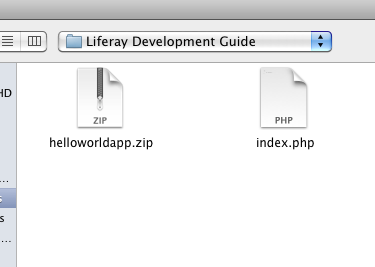
- Next you are going to run a zip command to package your application
- Run the following shell command://sudo zip helloworldapp.zip index.php
- Now that we have our zipped file, it is time to install this file in Liferay. Log into your liferay environment and navigate to the control panel
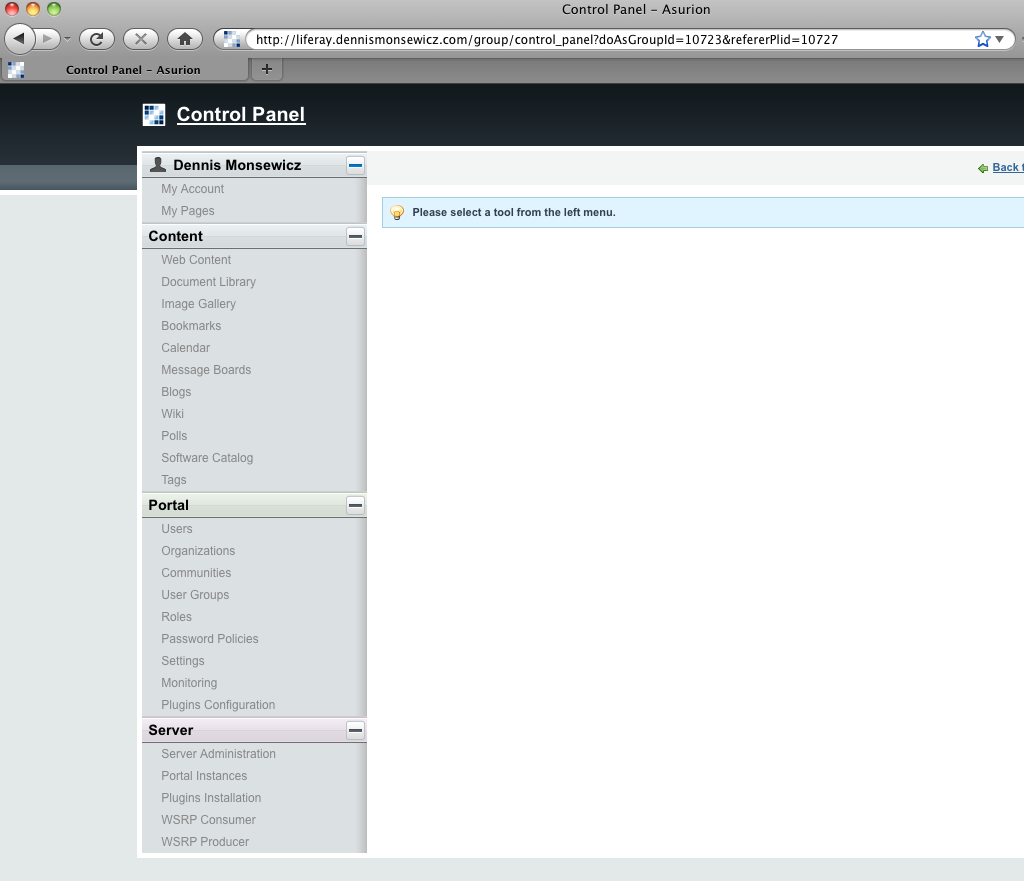
- Click on Plugins Installation, under the Server tab
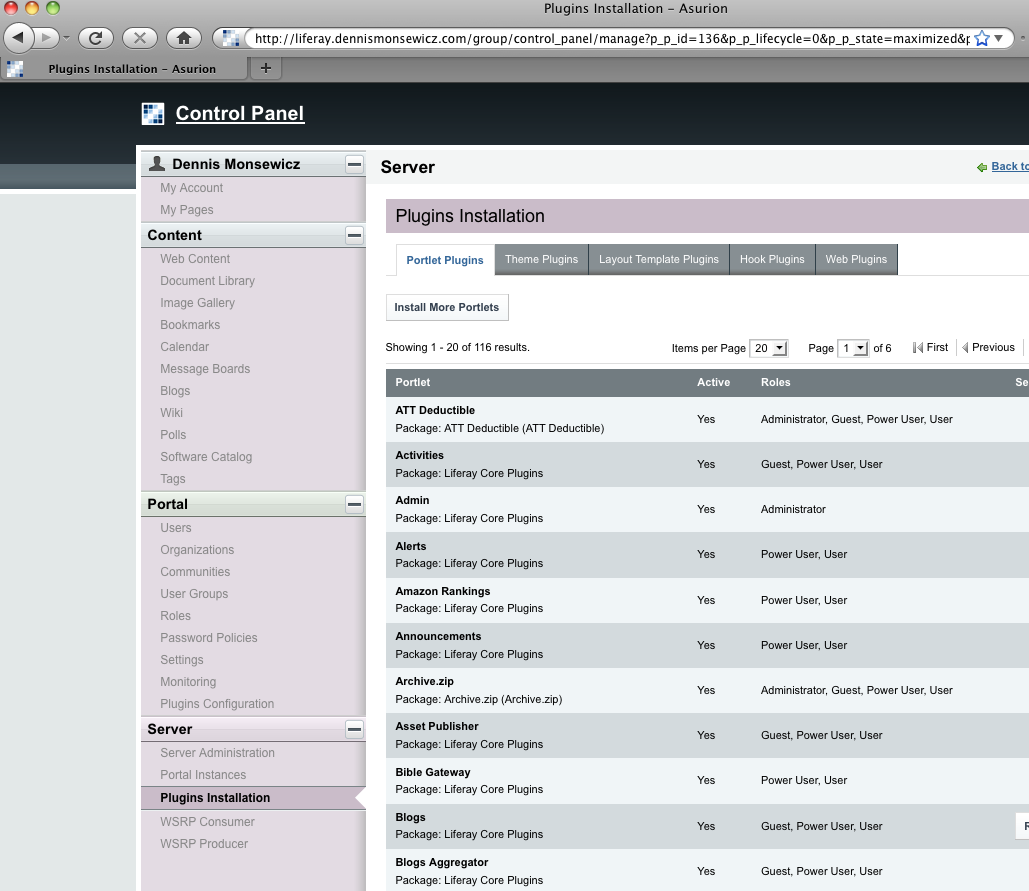
- Click on the Install More Portlets buttons
- Click on the Upload File tab
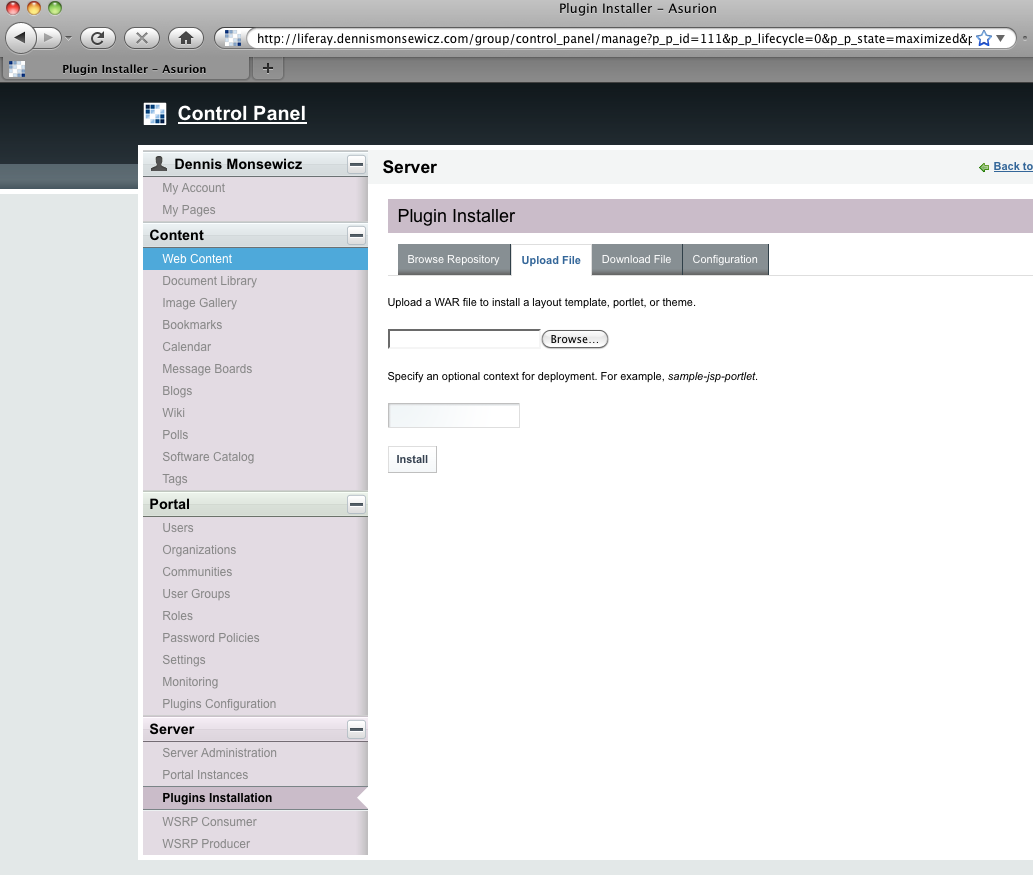
- Click on the browse button and navigate to where you have saved your zip file
- In the textbox below the upload field type in the name of the application. If you do not type in a name, the name of your application will be the name of your zip file. I recommend using a name without spaces.

- Once you have typed in the name you would like to call your application, click Install
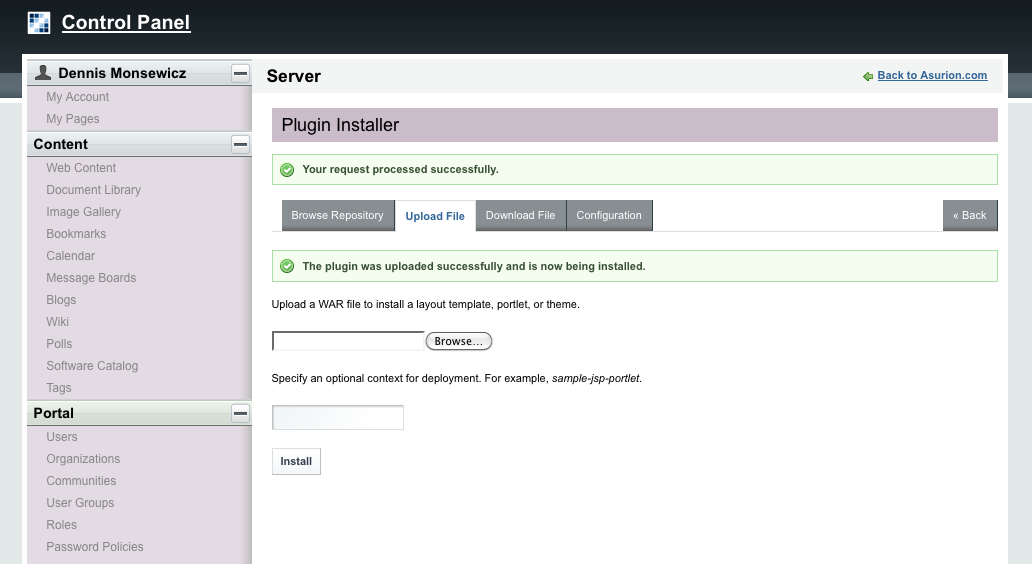
- Congratulations! You have now successfully installed your first PHP Liferay Application!
Testing your application #
Now that you have installed your application, it is time to test it out.
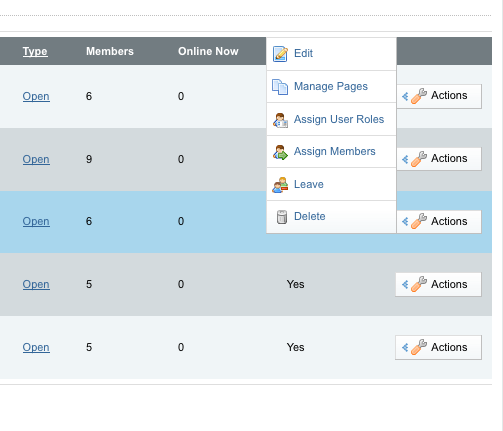
- While still in the control panel, click on the communities link under the portal tab

- Next click on the Actions button next to the community you would like to use, then click Manage Pages in the actions panel. For this instance we will be using the Guest community
- Once in the Manage Pages section, you will be greeted with a list of all of the pages you have created along with a few other options to better manage your pages. We will be focusing on the section that is already pulled up on the screen. In the textbox on the screen type in the name of the page you would like to create. Remember, this is the page we will be deploying our application to, so you want to name it accordingly.
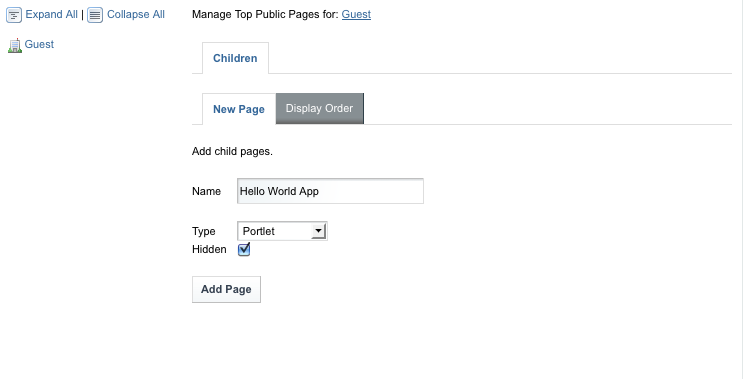
- Do not worry about the Type dropdown, but make sure to click on the Hidden checkbox, this hides the page from showing up in the navigation bar. Once you are satisfied with your page name, click Add Page.
- Congratulations! You have just created the page where your PHP app will reside. Now, lets navigate to that page from selecting it from the list on the left so we can check the URL.
- Make sure to click on the Page tab once you have clicked on the created page.
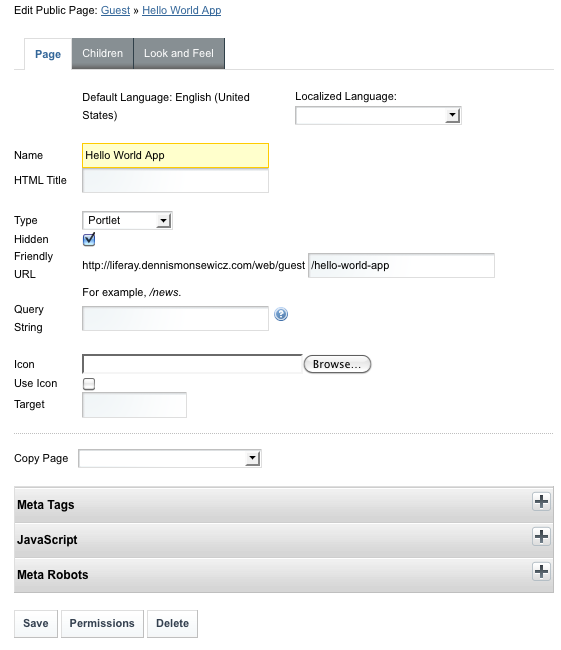
- Look for the Friendly URL option in the list of items. The URL in this case is: http://liferay.dennismonsewicz.com/web/guest/hello-world-app
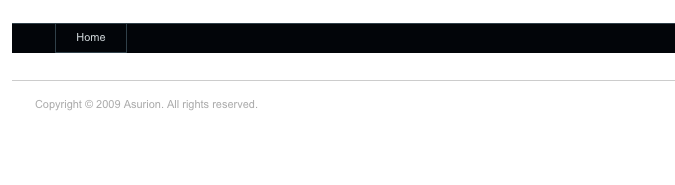
- Ok, now that we know what our URL is going to be, navigate to that page in your browser. When you first navigate there, you will see a blank page
- Using the dock in the upper right hand corner, navigate to the Add Application link
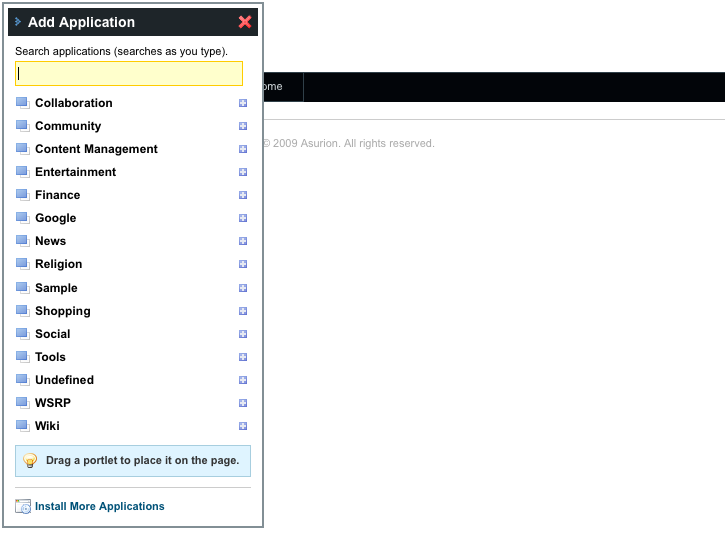
- To find your hello world application, simply begin typing the name of the application in the textbox. It will then show up under the Undefined section in the list.
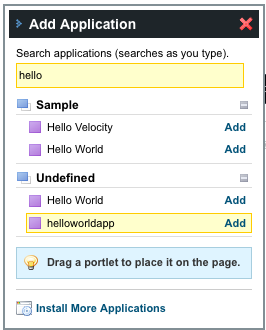
- To add the application to the page, simply click the Add button next to the name of your app
Advanced PHP Portlet Development #
Advanced applications can consist of a PHP App that contains libraries of code, MySQL integration, multi-page apps, etc.
MySQL Integration #
When dealing with a PHP CMS, a MySQL ORM is usually built into the backend and is readily available for use in development. Since Liferay is a Java based CMS, “tapping” into its ORM is somewhat a mystery in PHP.
SQL calls are made in the same way as any regular PHP app.

Please note that the file name is index.php. For Liferay to render your application on the webpage, the main file must be called index.php
Multi-Page Applications #
$_POSTing #
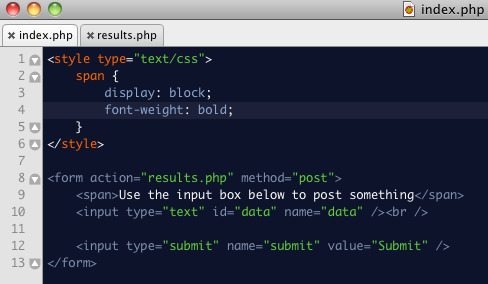
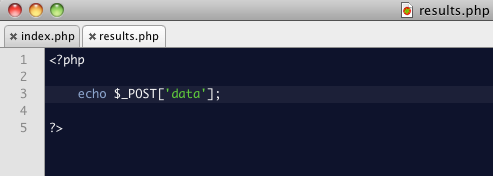
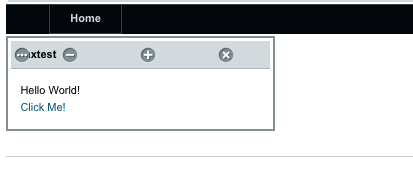
As you can see from above, you simply create a form and then post to your second page (I have called my 2nd page results.php, but you can call it whatever you like).
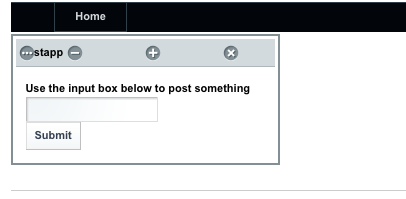
So, what does this look like in Liferay?
Remember, you have to zip the files you are using in order to install the application in Liferay.

Multipage apps with AJAX #
In this section I want to go over something that will come in very handy, utilizing AJAX in your applications.
Coding Magic #
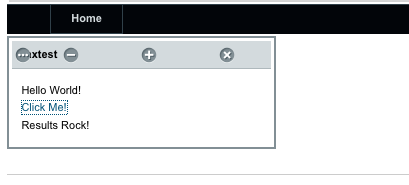
The screenshots from above show the results from an AJAX call in Liferay.
Styles
<style type="text/css"> span { display: block; font-weight: bold; }</style> Keep in mind, that you can include your own external stylesheets. Including styles in an external CSS file would look something like this:
<link href=”/name_of_application/name_of_folder/name_of_stylessheet.css” rel=”stylesheet” />
Side note – When you install an application in Liferay, it is added to the webapps folder under your tomcat instance. To view or include files from this application, follow the path convention from above.
JavaScript
<script type="text/javascript">
jQuery(document).ready(function(){
var url = "/web/guest/post-test-app?p_p_id=ajaxtest_WAR_ajaxtest&p_p_lifecycle=0&p_p_state=exclusive&p_p_mode=view&_ajaxtest_WAR_ajaxtest_phpURI=results.php";
jQuery('#ajax').click(function(){
jQuery.ajax({
url: url,
success: function(html) {
jQuery('#content').append(html); } });
return false; }); });
</script>}}}
A lot of CMS’ come packaged with certain JavaScript frameworks. Liferay comes packaged with jQuery. Being able to use the jQuery framework makes javascript development a lot easier and faster.
HTML
<p>Hello World!</p>
<p>
<a href="#" id="ajax">Click Me!</a>
</p>
<div id="content"></div>}}}
Results.php
<?php
echo 'Results Rock!';
?>}}}
Note: The code shown above is only one, simple way to use AJAX in your code.
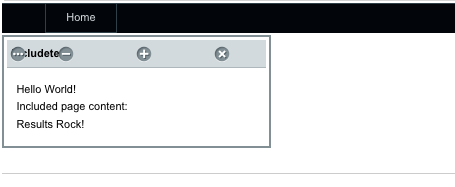
PHP includes in Liferay #
Including a page in your PHP app is just as simple as you remember
<?php
include “pagename.php”;
?>}}}
Untergeordnete Seiten
